Online Application Design
1. Resources
The resources that can be designed in an online application are as follows.
| Resource | Description |
|---|---|
service |
You can design service resources. |
business |
You can design business resources. |
DBIO |
You can design DBIO resources. |
IO |
You can design IO resources. |
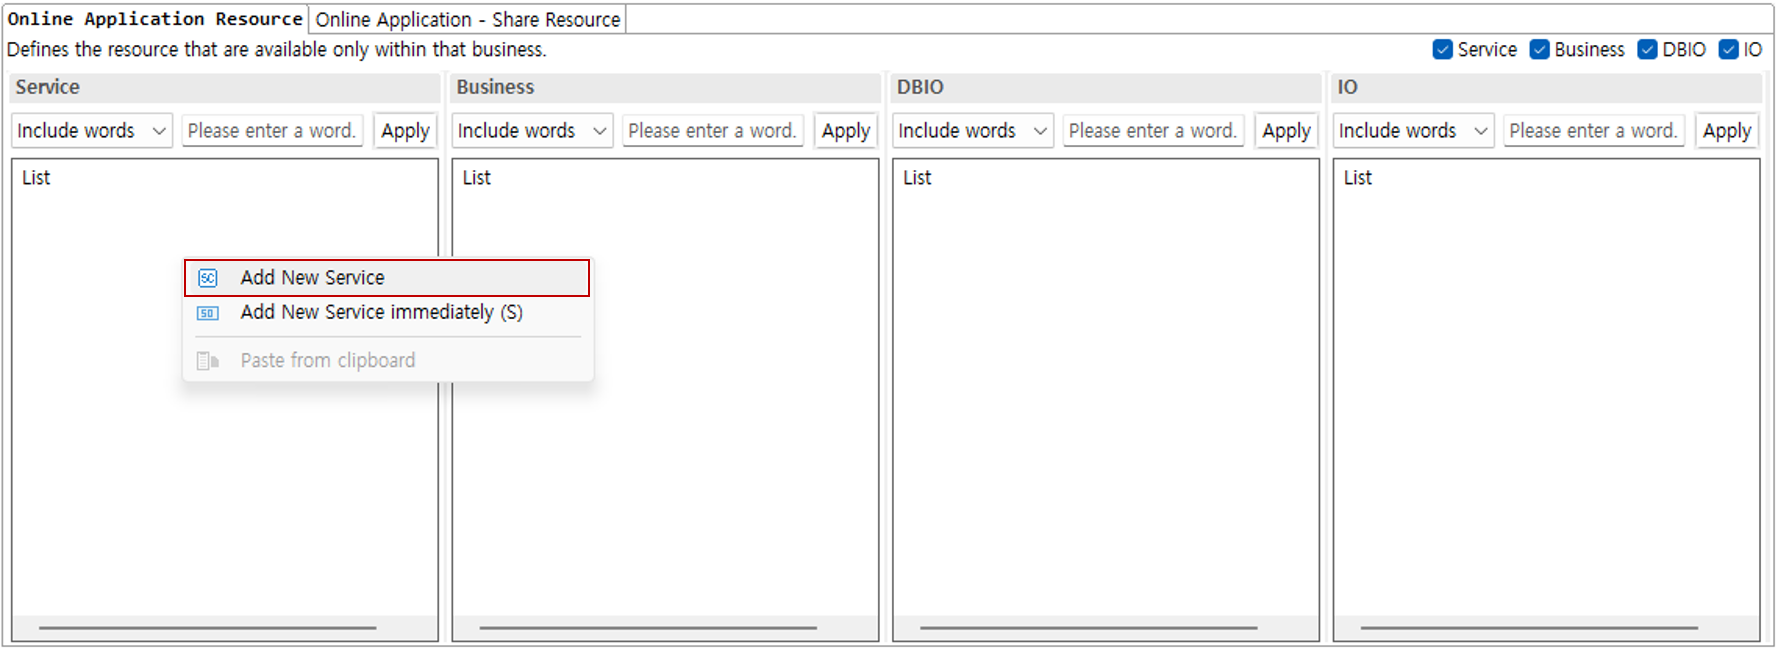
2. Add Service
-
Right-click the service area to open the context menu. In this guide, select Add New Service.
-
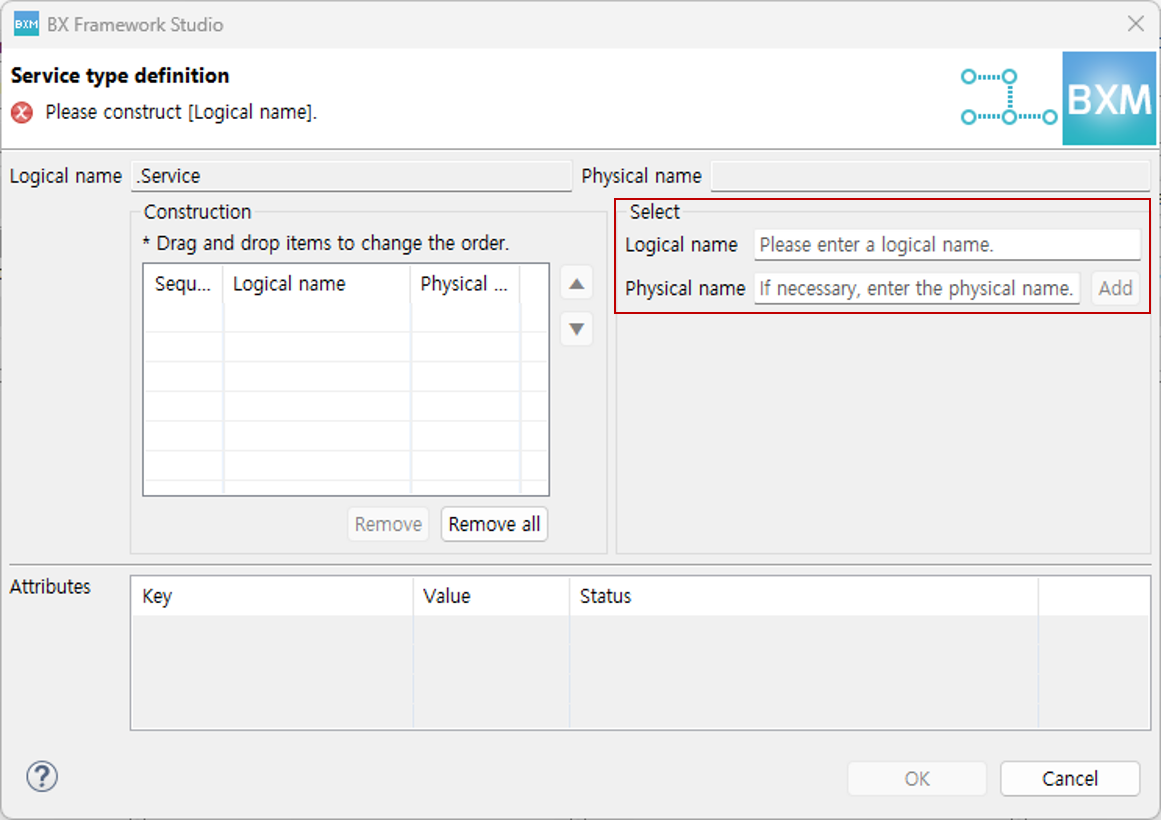
Enter a word and press Enter or click the search button to search for the word registered in meta and complete the logical name. Separate words in a compound word with
.and, after checking that the logical name and physical name are entered correctly, click the OK button to complete service creation.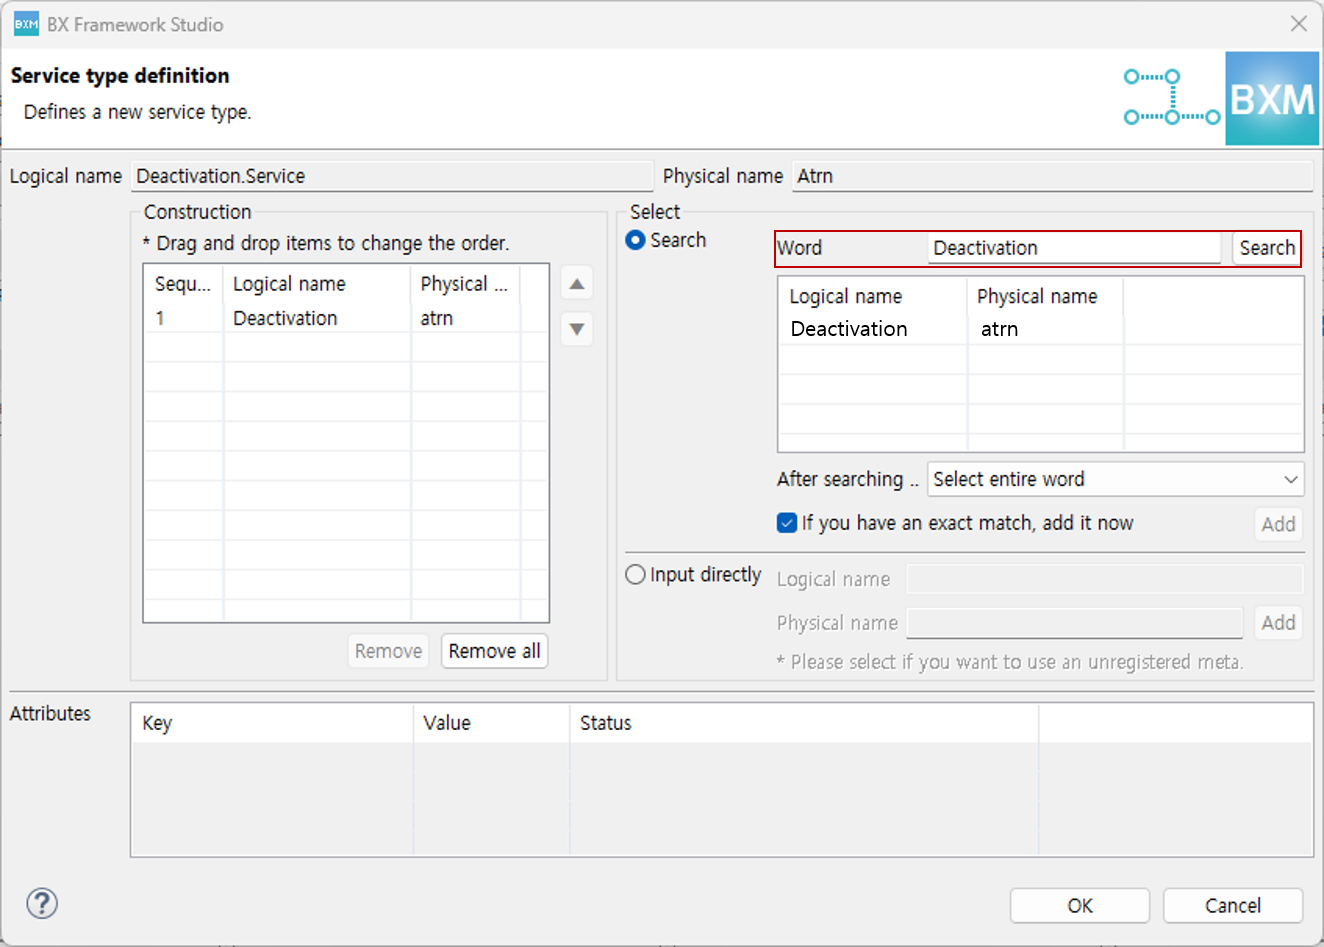
A logical name can be configured by either Search from Meta or Direct Input. If necessary, you can use only Search from Meta or only 'Direct Input'. You can change the setting with the options below.
-
key : application.designer.meta.nameSelectOption
-
value : META_AND_DIRECT or META_ONLY or DIRECT_ONLY
-
META_AND_DIRECT: Default value. Use both 'Search from Meta' and 'Input directly'
-
META_ONLY: Use only 'Search from Meta'
-
DIRECT_ONLY: Use only 'Input directly'
-
-
When using only 'Search from Meta', only the meta search control is activated in the dialog. Configure the logical name by searching meta.
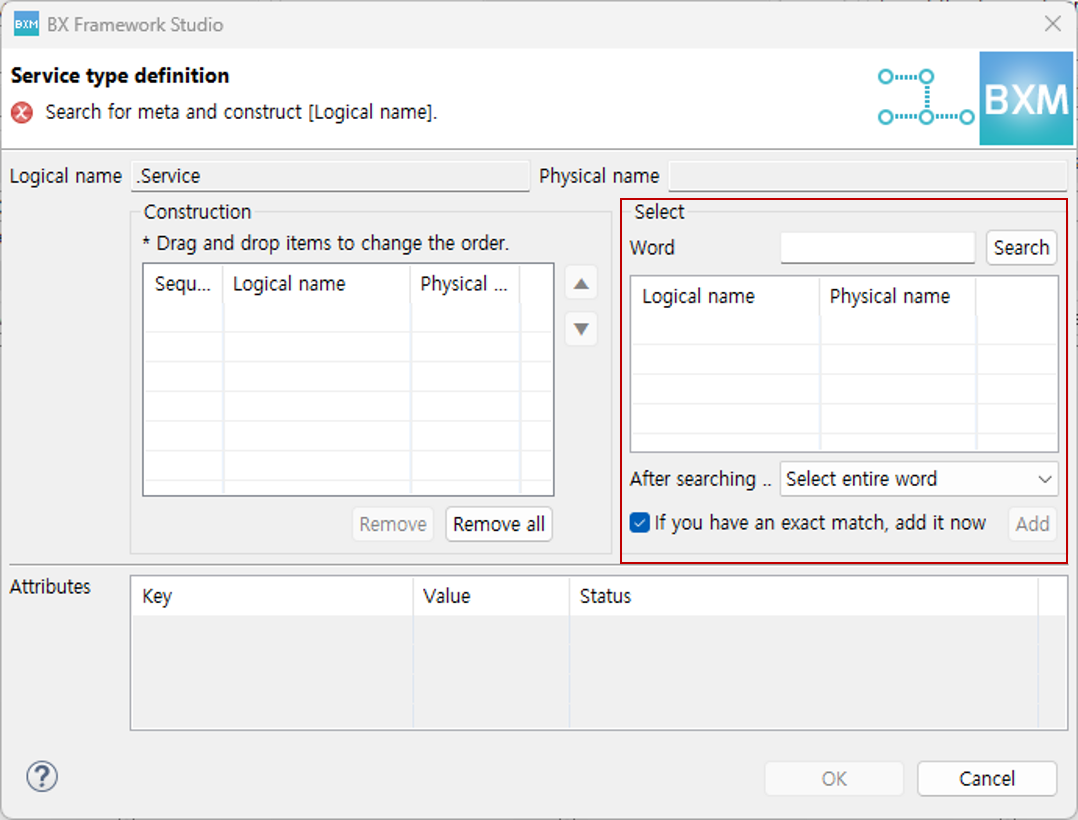
-
When using only 'Input Directly', only the direct input control is activated in the dialog. Configure it by directly entering the logical name and physical name.
-
-
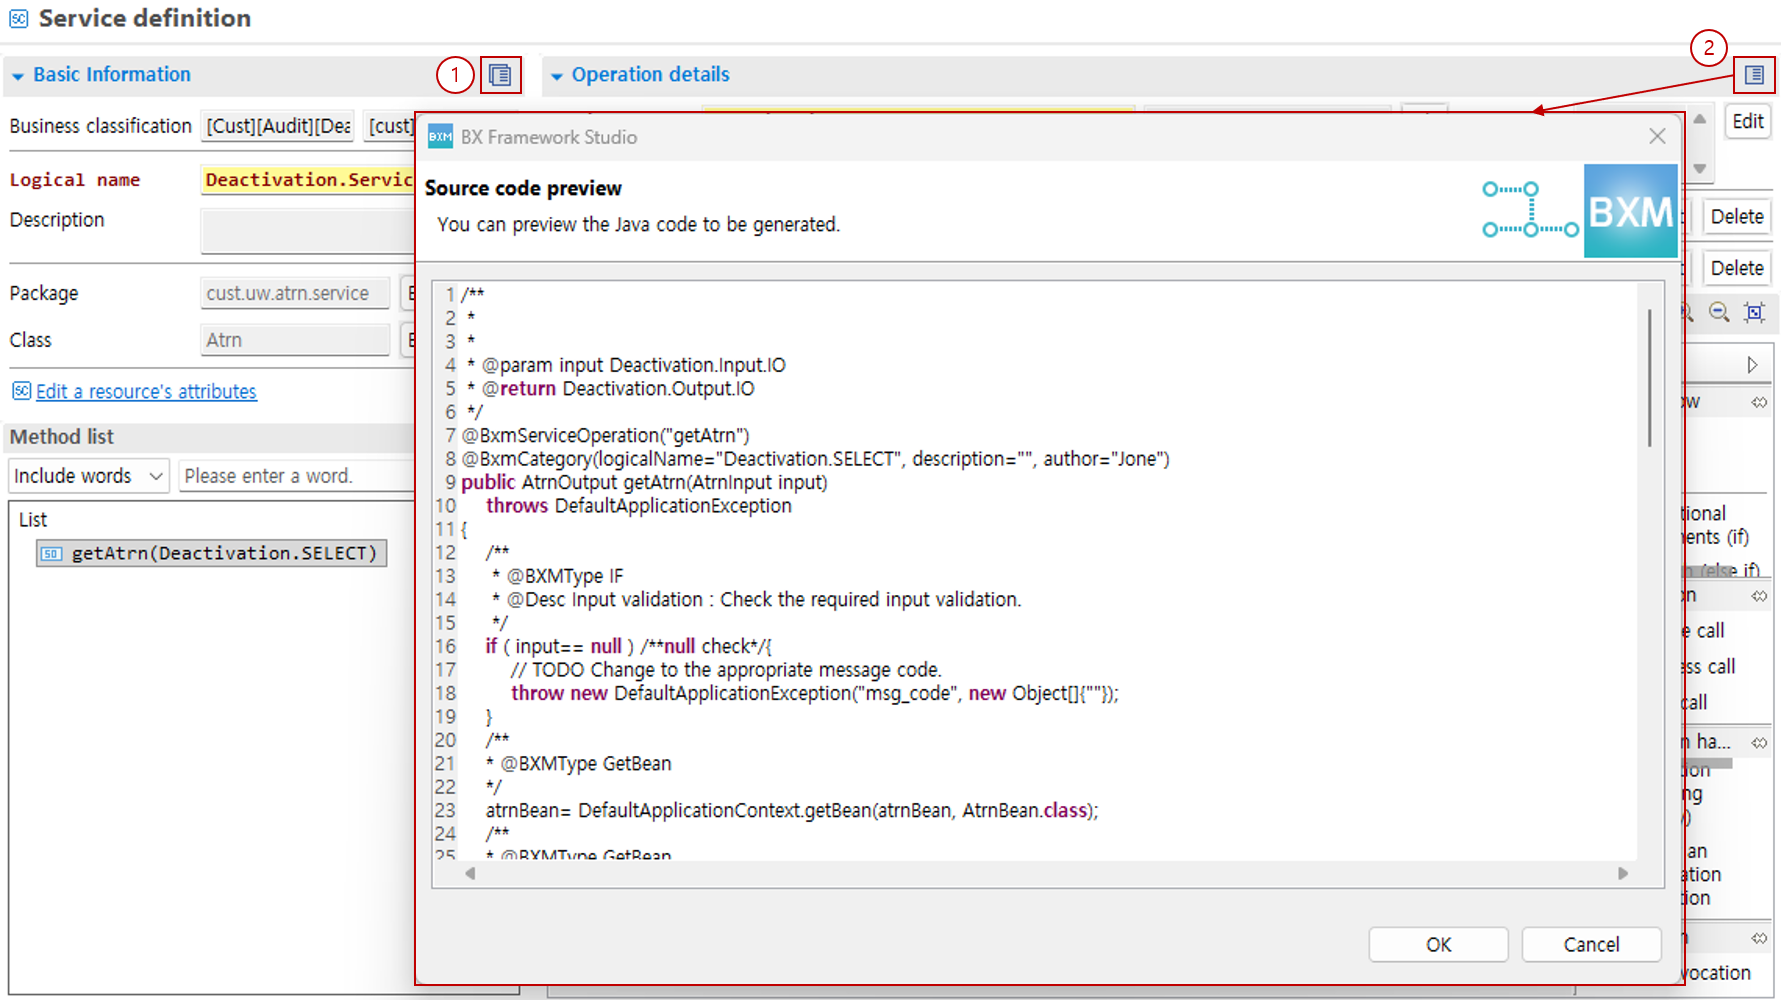
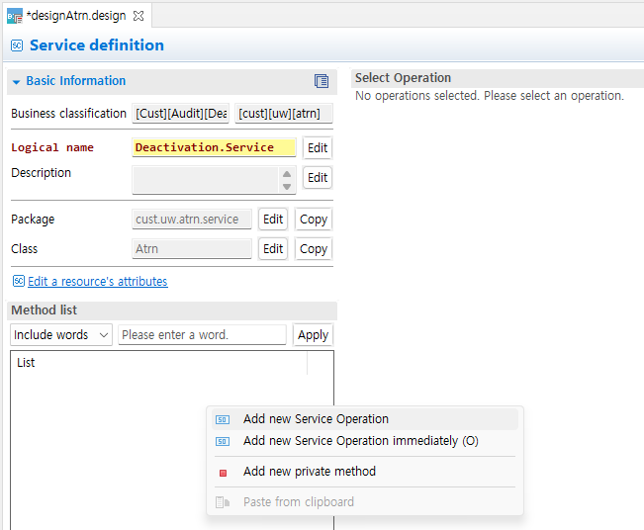
Double-click the created controller to open the editor window, then right-click in the method list and click Add New Service Operation.
-
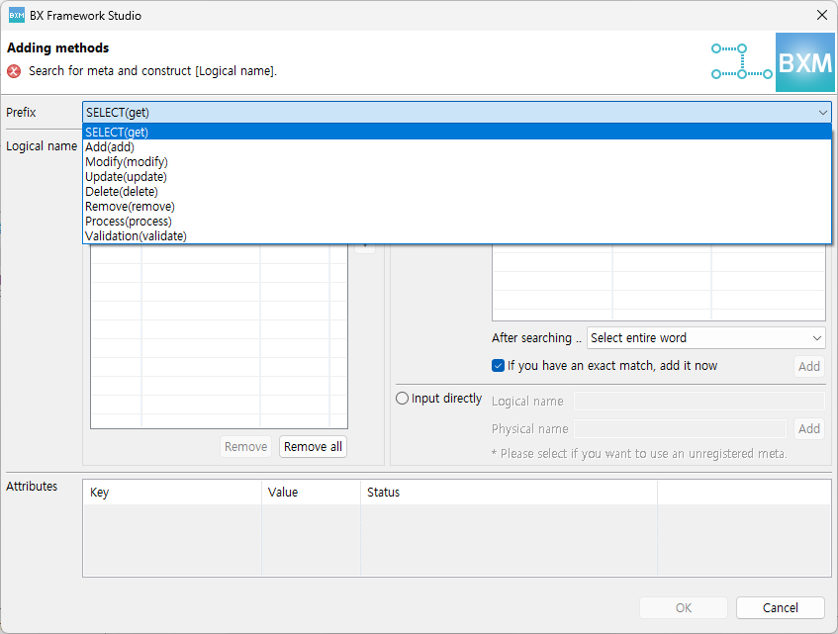
In the dialog, select a prefix and search meta words to create a method.
-
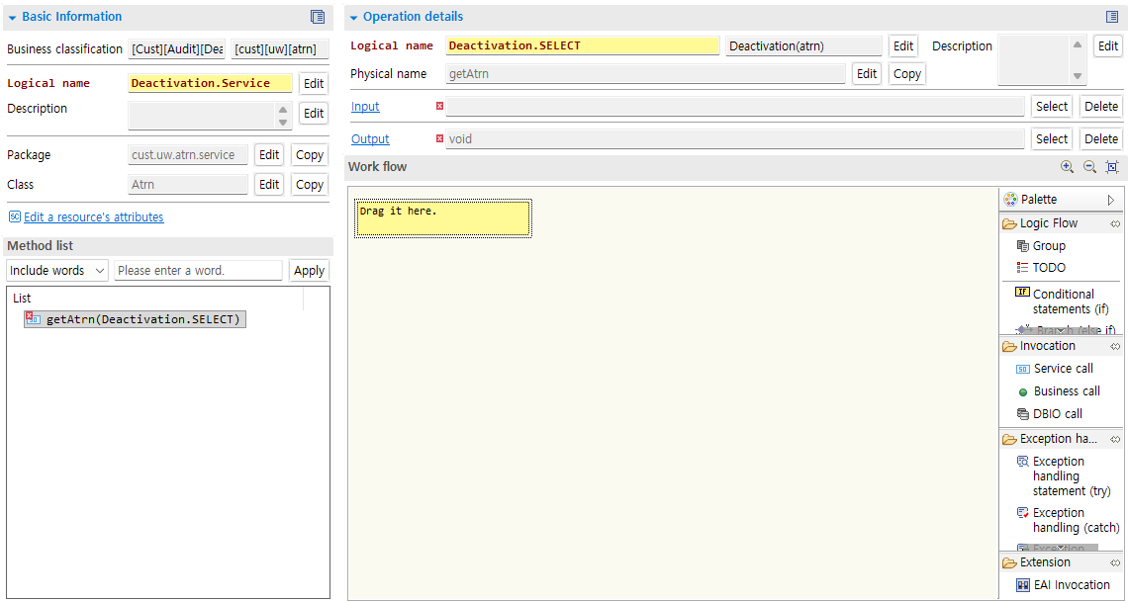
Double-click the service operation to open the method details page.
-
Service operation input can be added from the dialog opened by clicking the Select button. The input of the service can be set as an IO type. Search for IO in the opened dialog. Select the IO type you want from the search result list and click the OK button.
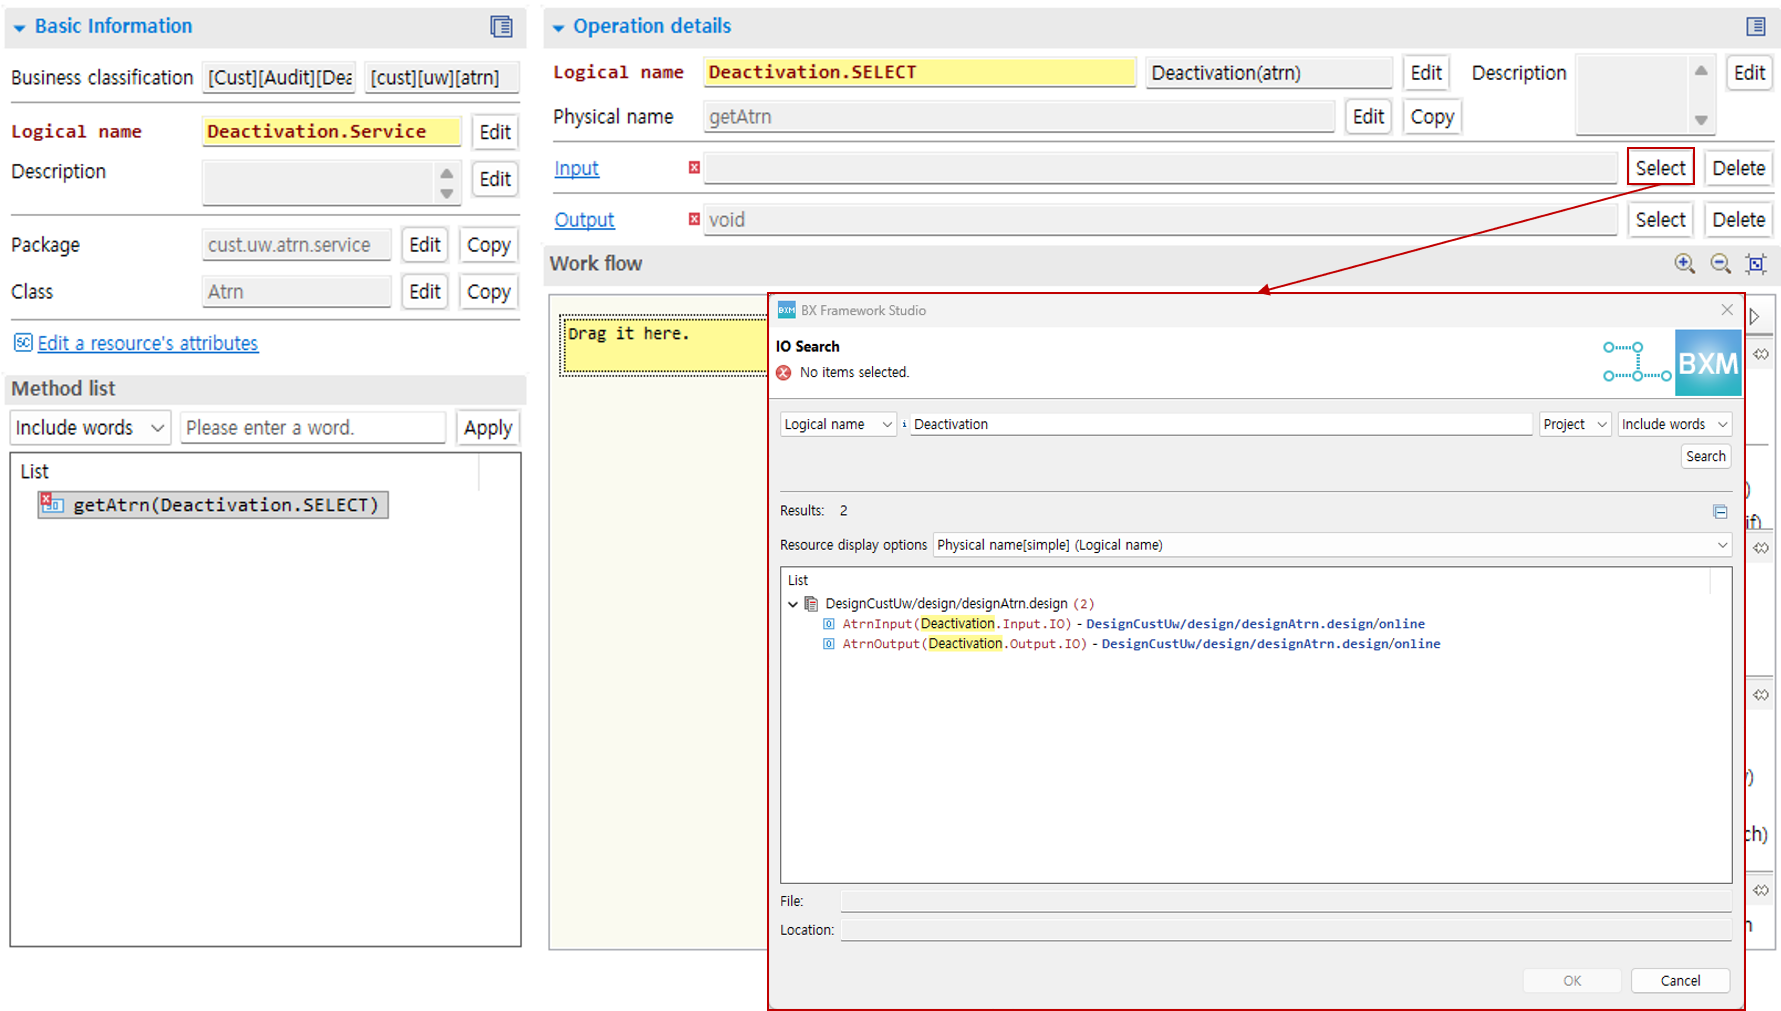
-
Specify the service operation output type in the same way as selecting the input type.
Work flow design is described in Work Flow Design of Resources.
3. Add Business
-
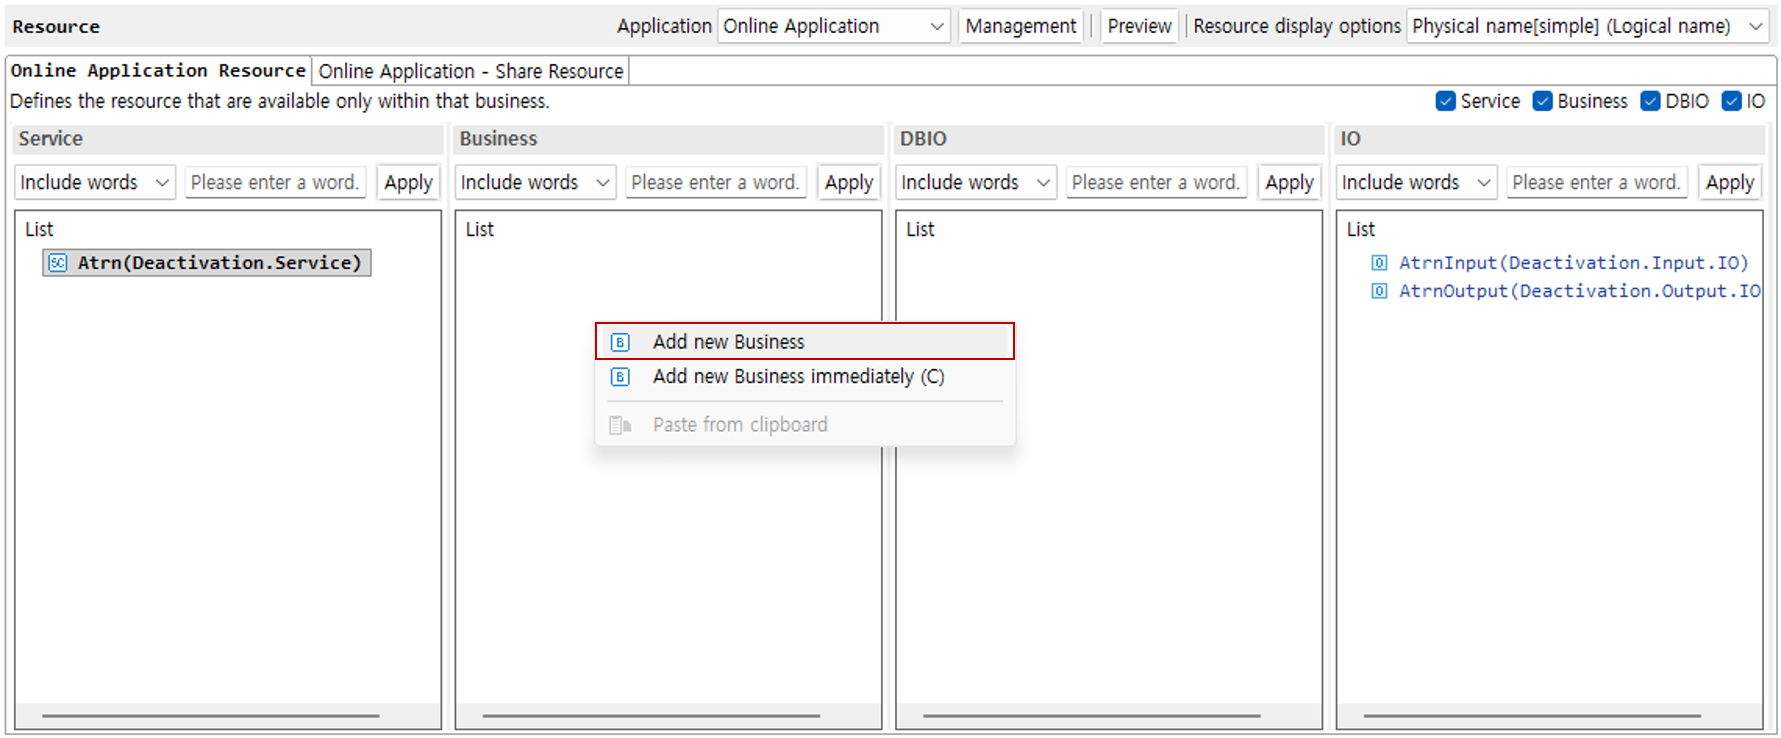
Right-click the business area and select the Add New Business button. The subsequent procedure is the same as for services.
4. Add DBIO
-
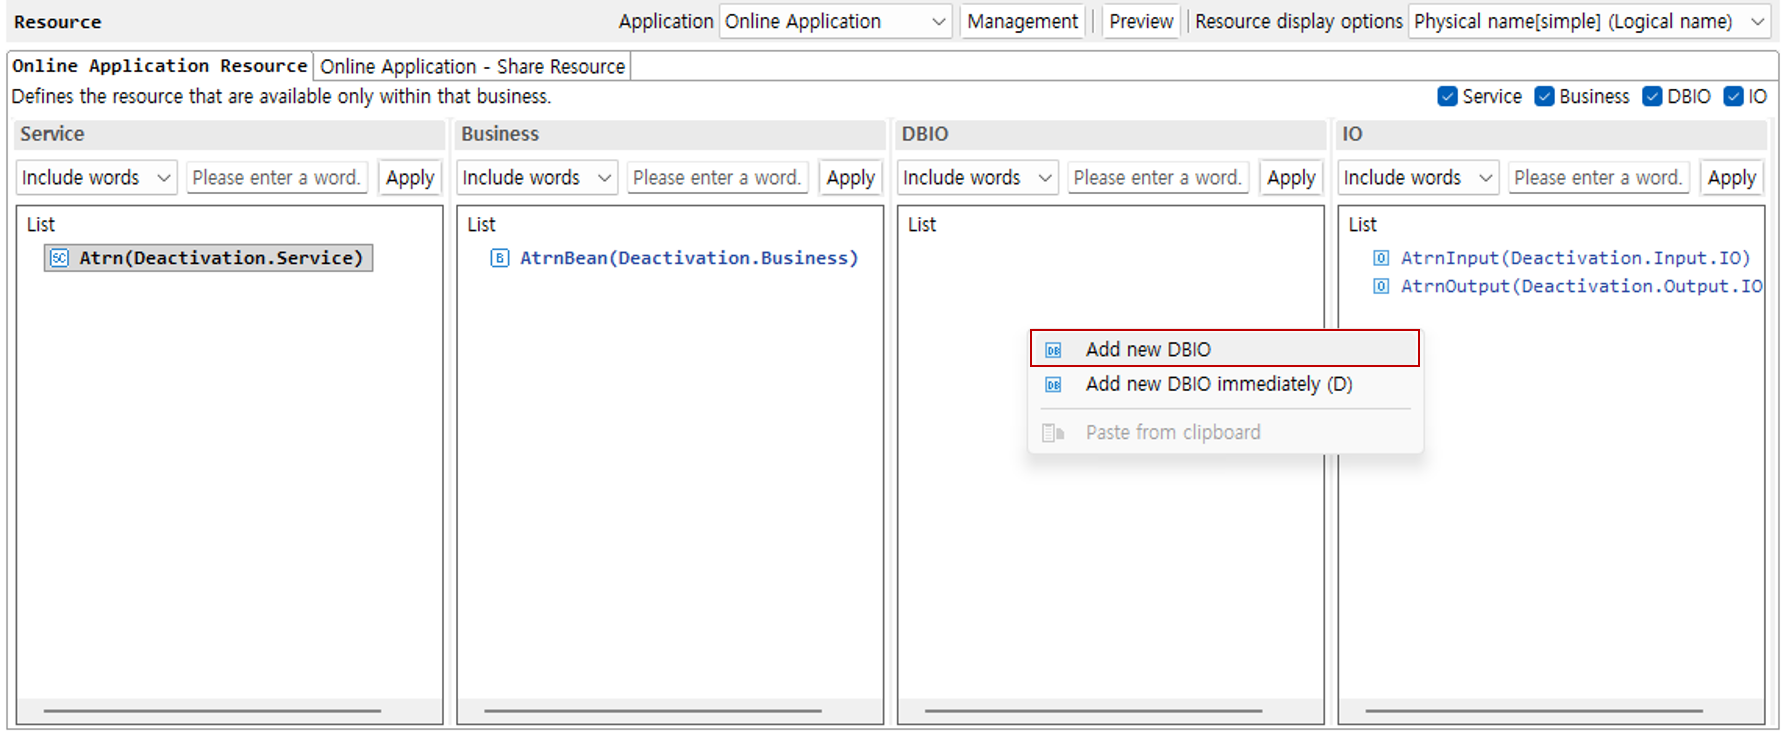
Right-click the DBIO area and select the Add New DBIO button. The subsequent procedure is the same as for business.
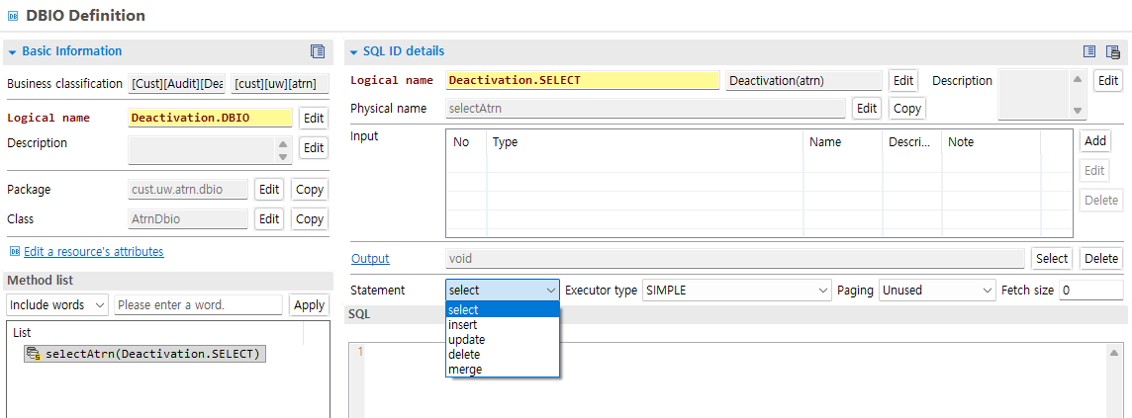
-
Add an SQL ID in the method list, and then select the appropriate Statement.
5. Add IO
-
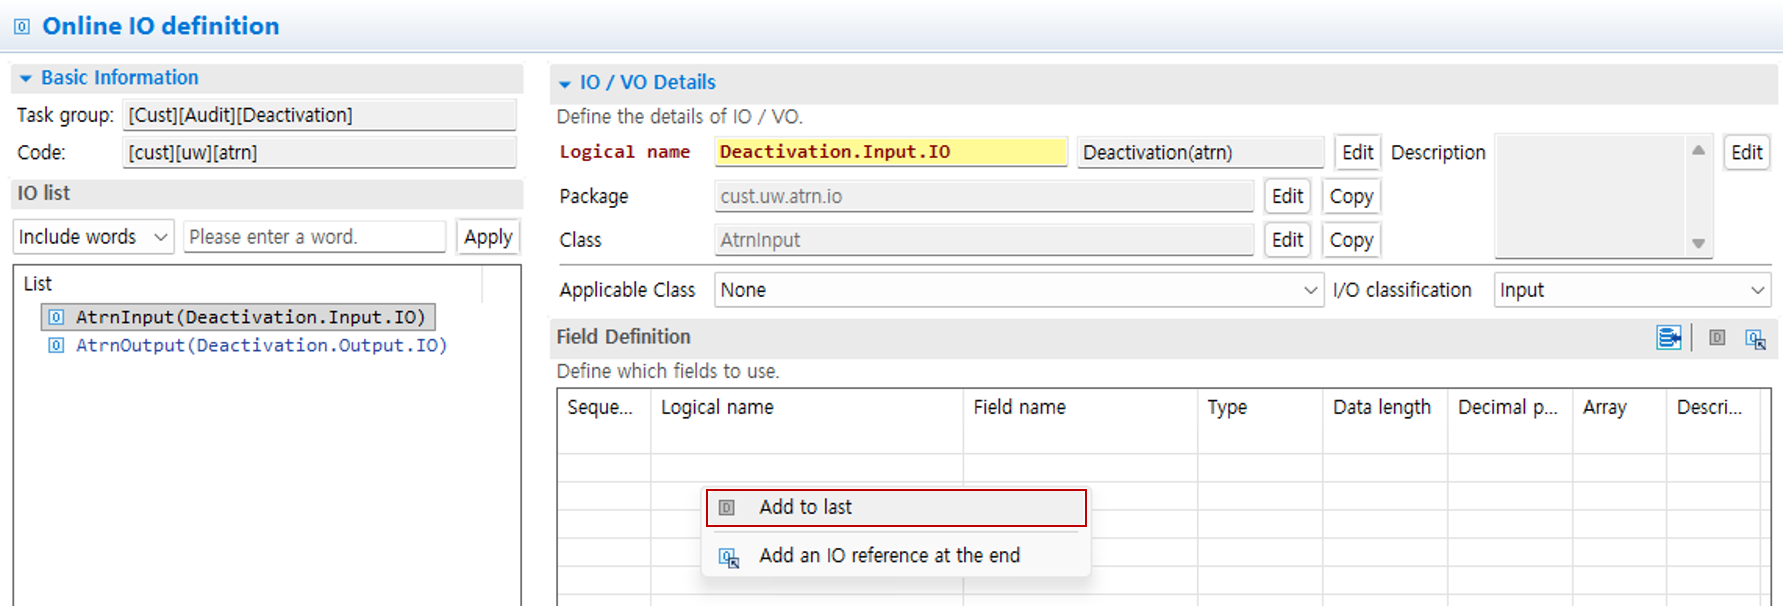
Right-click the IO area and click the Add New IO button.

-
Right-click in the field definition to open a popup for adding fields.
-
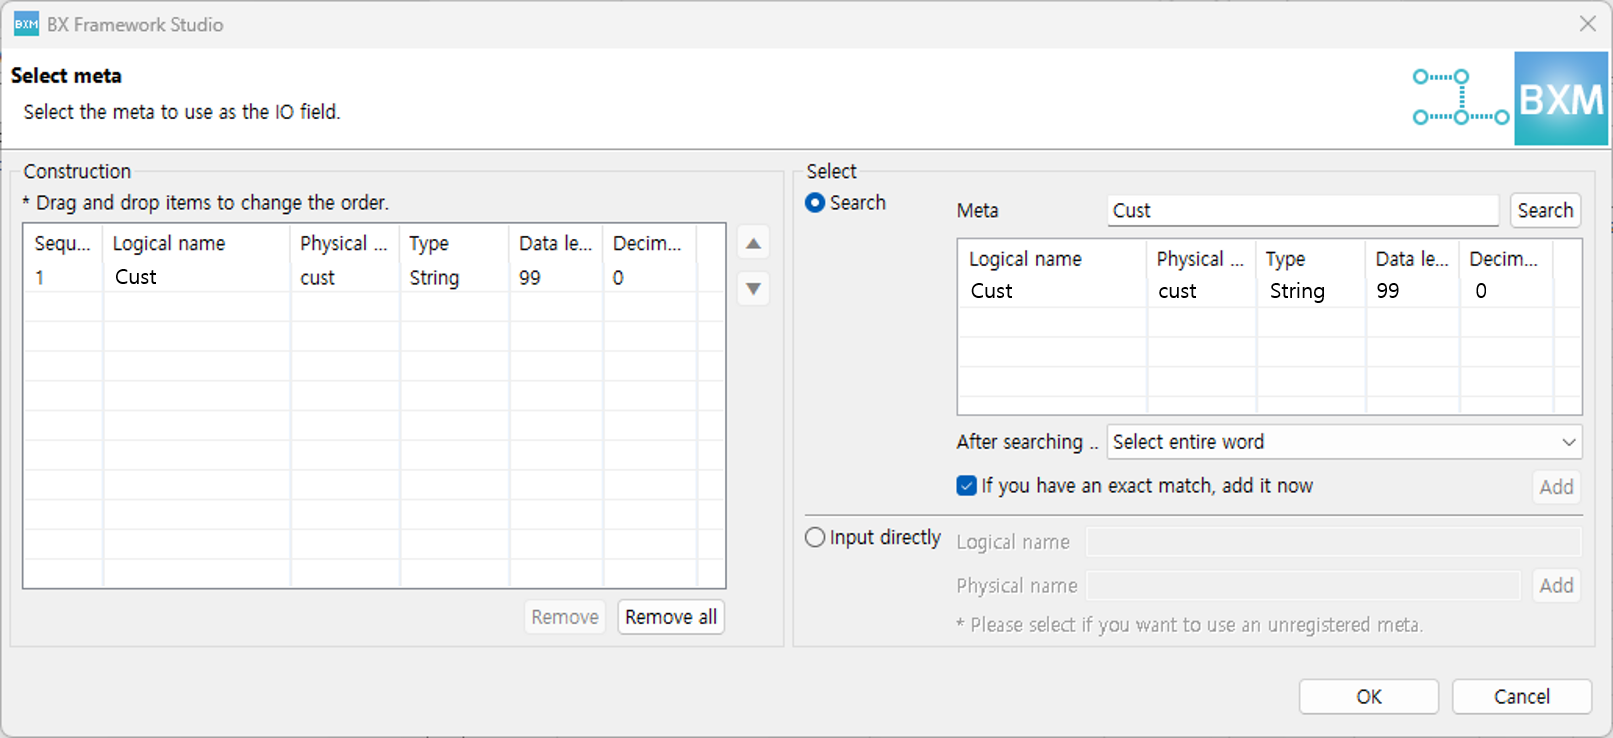
Search meta, add the required fields to the configuration, and then click the OK button.
6. Work Flow Design of Resources
This section describes how to design work flows.
Work flows are written in pseudo-code form so that they represent the logical flow of business rather than the actual code. After design is completed, in the development phase you must rewrite the code generated in pseudo-code form into more detailed executable code.
6.1. Flow Nodes
This section describes the types of flow nodes used for business flow design.
| Type | Node Form | Description |
|---|---|---|
|
|
A node for grouping logical flows. It is a node that can help identify work flows, but in the actual generated code it only has the meaning of a code block ( |
|
|
Write content corresponding to tasks in the logical flow. The written content is generated in the actual code as comments in the form |
|
|
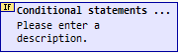
Used when designing conditional statements. In the actual code, code in the form |
|
|
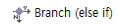
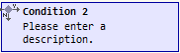
Used when adding another condition to a conditional statement. In the actual code, code in the form |
|
|
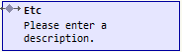
Used when executing if none of the upper conditions are satisfied. In the actual code, code in the form |
|
|
Used when designing loops. In the actual code, code in the form |
|
|
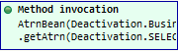
Used when calling a method of a class resource. In the actual code, code in the form |
|
|
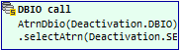
Used when calling the SQL ID of a DBIO. As with class resource method calls, code in the form |
|
|
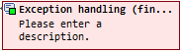
Used when an exception may occur in the logical flow and exception handling is required. In the actual code, code in the form |
|
|
Used when designing the content to handle when an exception occurs in the content of an exception handling statement. If there are multiple exception cases, you can additionally register exception handling nodes. In the actual code, code in the form |
|
|
Used when designing content that must be executed after an exception handling statement is executed. In the actual code, code in the form |
|
|
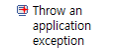
Used when an application exception must be raised in the logical flow. |


6.2. Work Flow Design
This section describes how to design work flows using flow nodes. The types of nodes may differ depending on the type of resource, but this guide describes the process of designing the work flow of a business method.
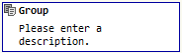
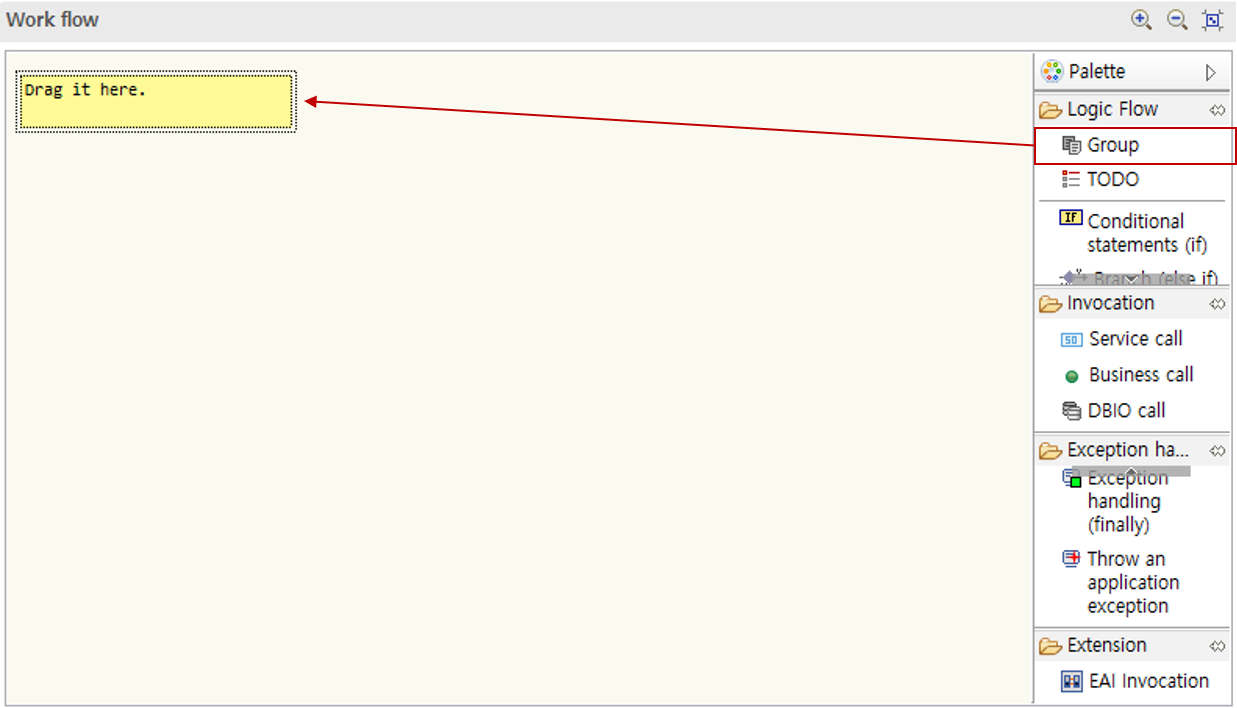
6.2.1. Group
-
Drag a group node from the palette into the work flow area.
-
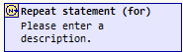
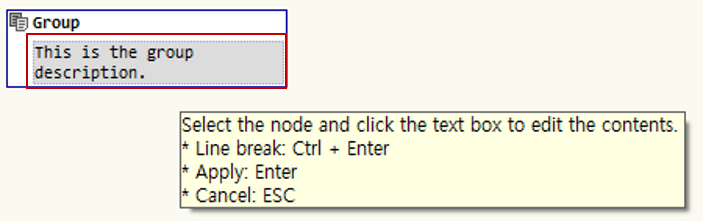
Click the node with the mouse to display a description window. Enter the necessary content in the description window and press Enter to apply.
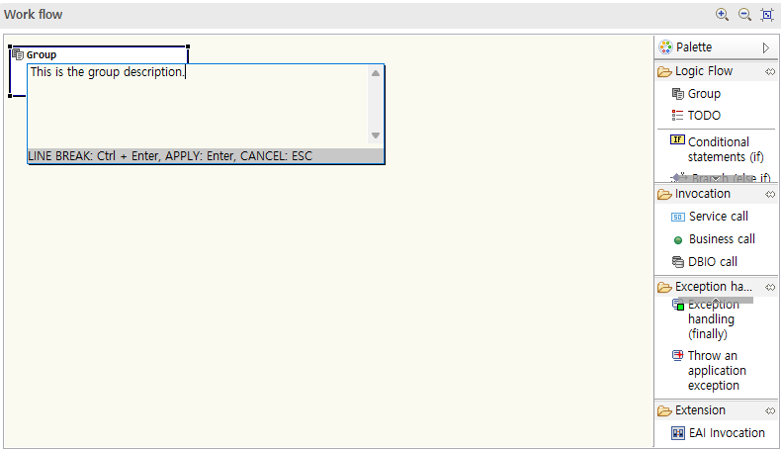
For group nodes, you can directly enter the node title.
-
Edit Title: When you move the cursor over the title area, it turns gray; click it to activate edit mode.

-
Edit Description: When you move the cursor over the description area, it turns gray; click it to activate edit mode.
-
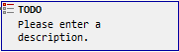
6.2.2. Task
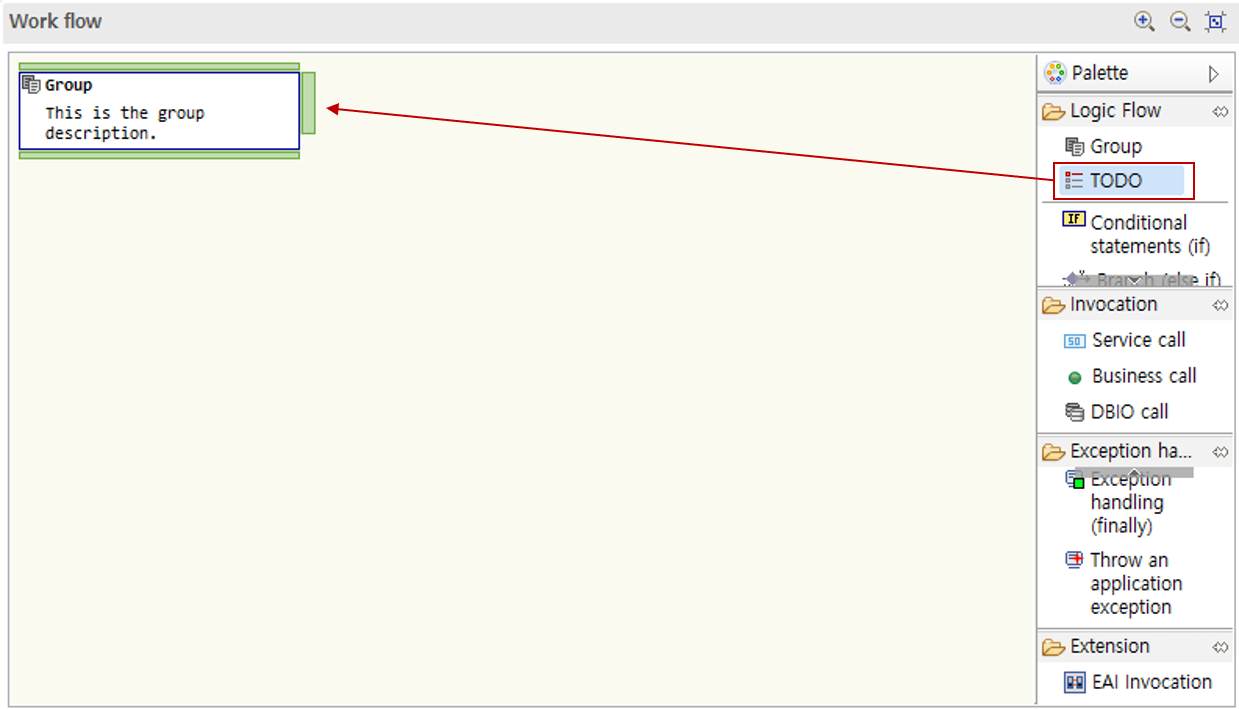
-
Drag a task node from the palette into the work flow area. The method for entering descriptions is the same as for groups.
6.2.3. Conditional Statement
-
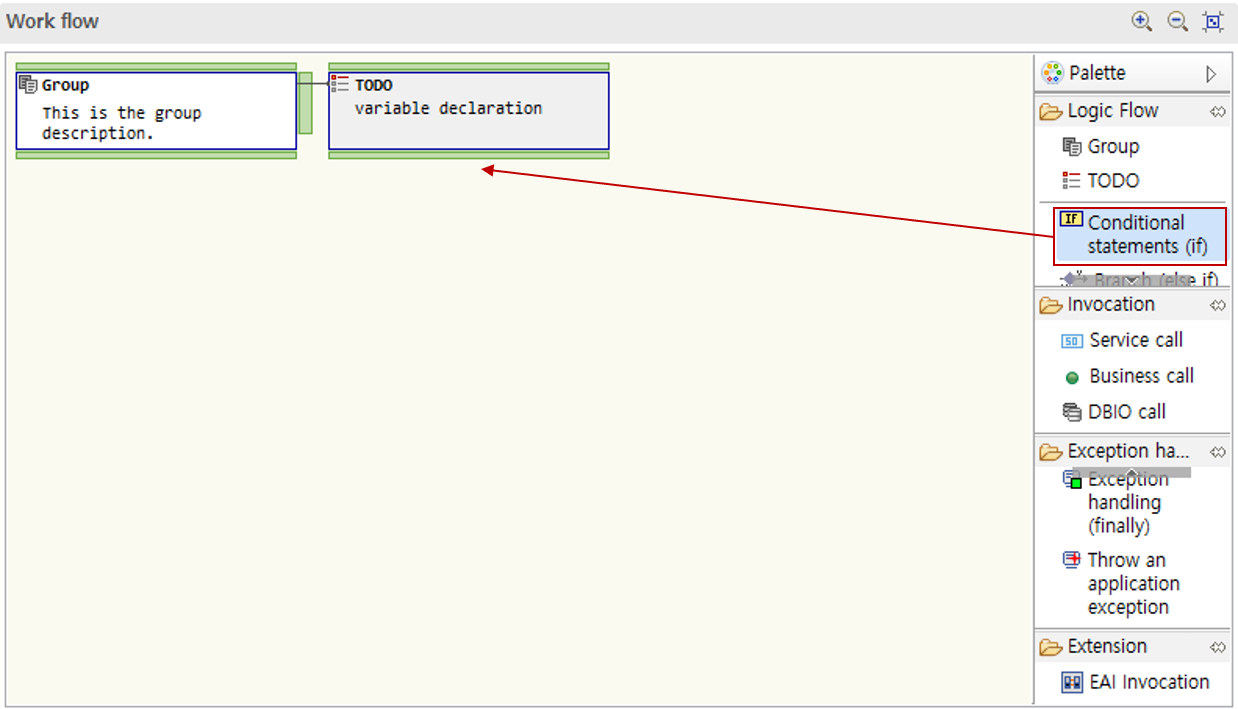
Drag a conditional statement node from the palette into the work flow area.
-
Appropriately use nodes such as branches, other branches, and loops to design the desired conditions.
6.2.4. Call
-
Drag a call node from the palette into the work flow area.
-
In the dialog, search for the method or SQL ID to be called.
You can specify the search range as the entire project or the current file, and you can select how closely the results should match the search target.
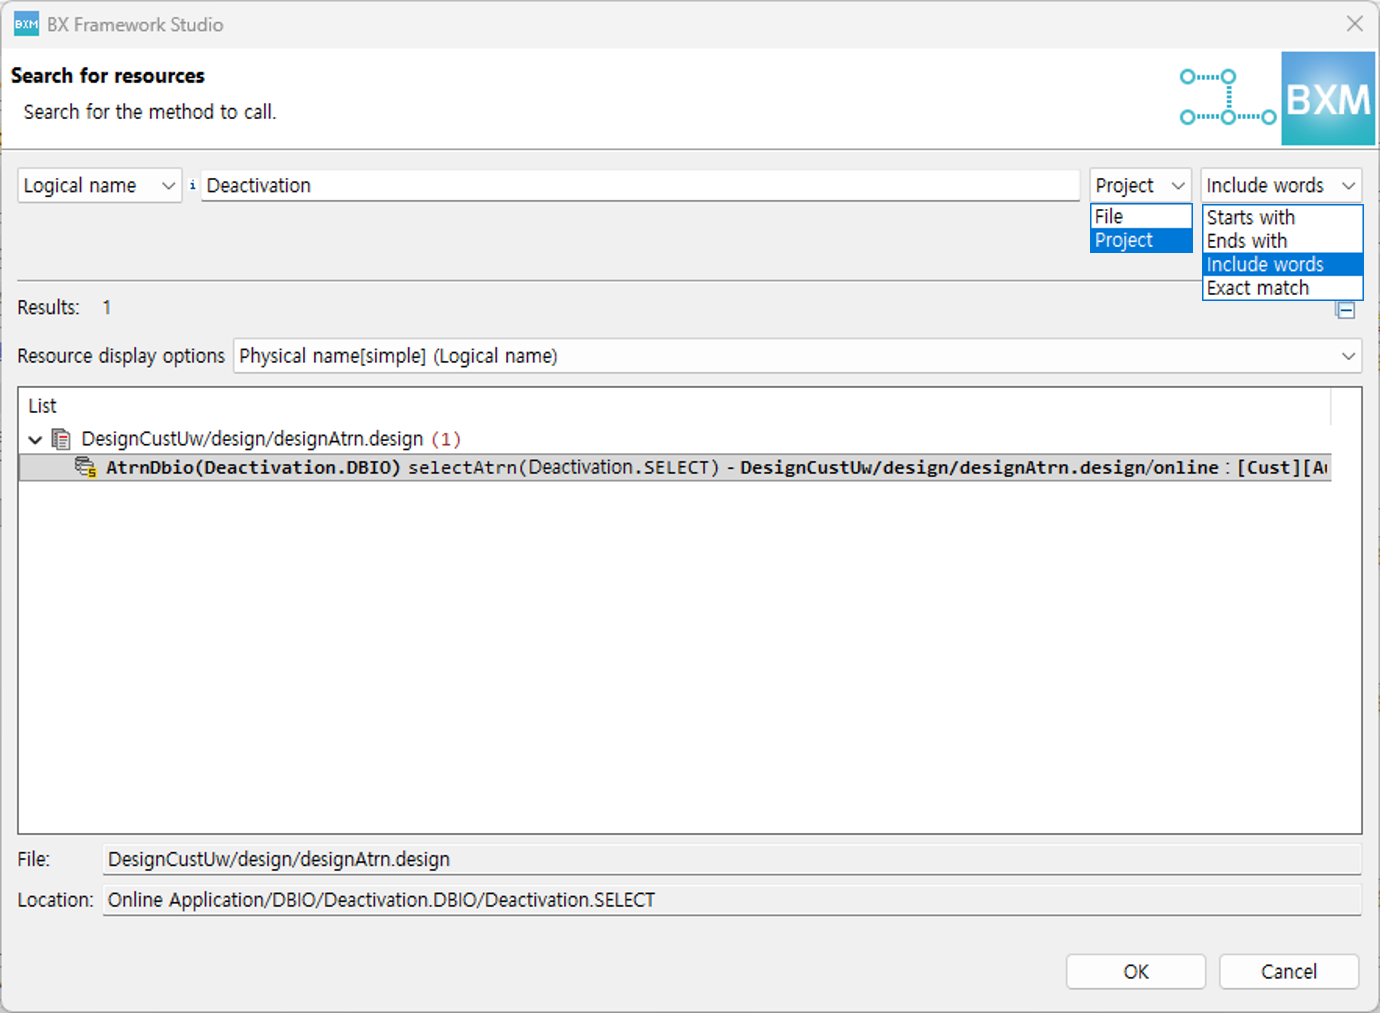
-
DBIO calls can be designed in the same way.
When you click a call node, you can check detailed information in the Properties View at the bottom. When you double-click a method, you move to the details page of that node.
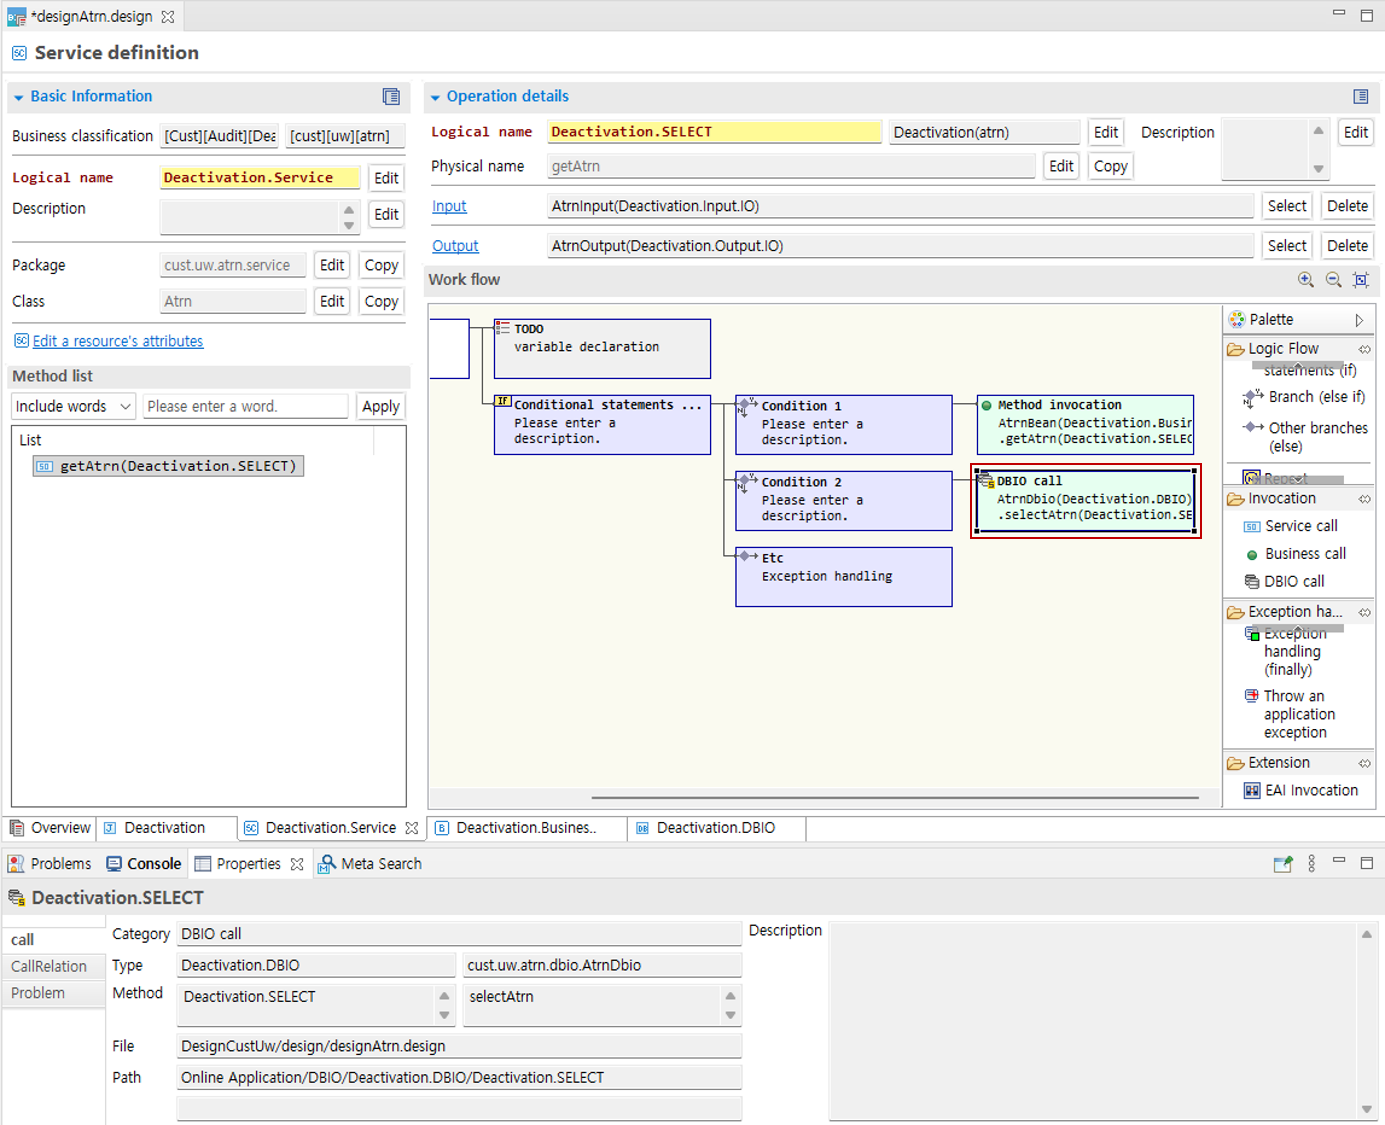
You can also add call nodes by dragging them from the method list, design explorer, design resource search, and Outline resource tab.
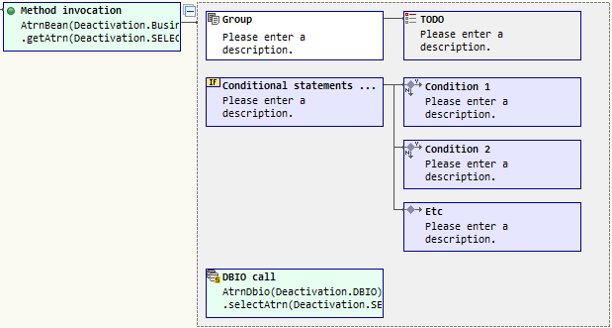
Depending on the specified option, call nodes can also represent the inside of the called method.
If the option below is enabled, the inside of the method is also represented. In this case, the inside of the method cannot be edited directly.
-
key: application.designer.flow.showMethodInternal
-
value: true or false
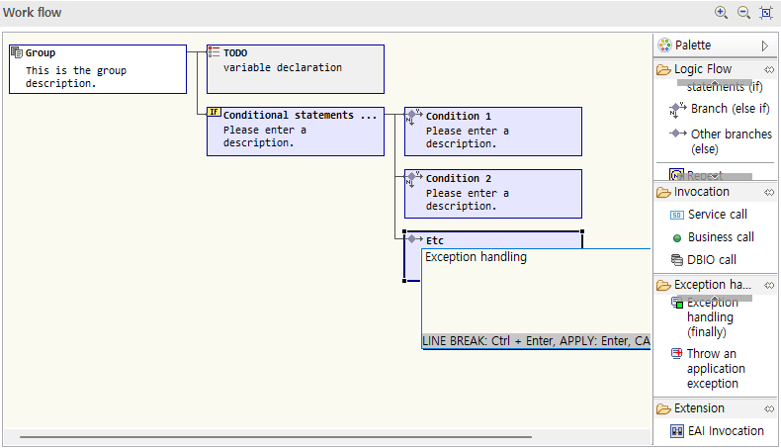
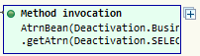
If the value is true, a button to collapse and expand the method internals is activated at the upper right of the call node.
-
When Collapsed:
-
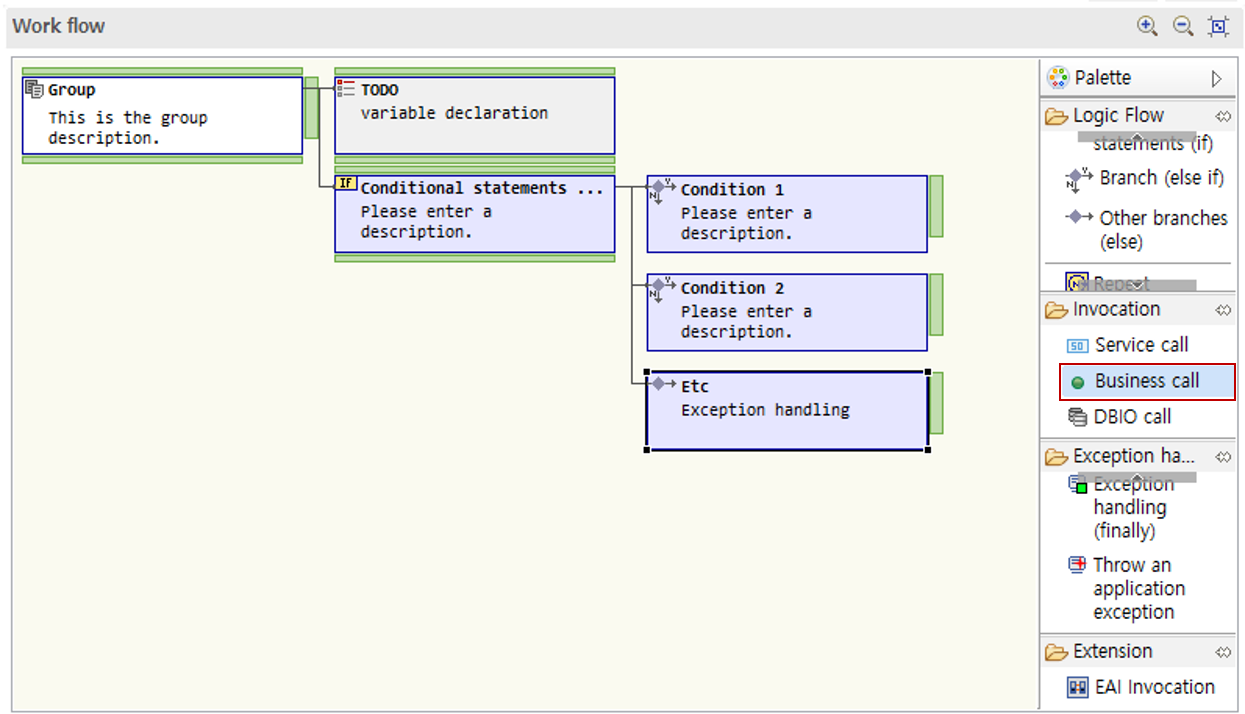
When Expanded:
-
-
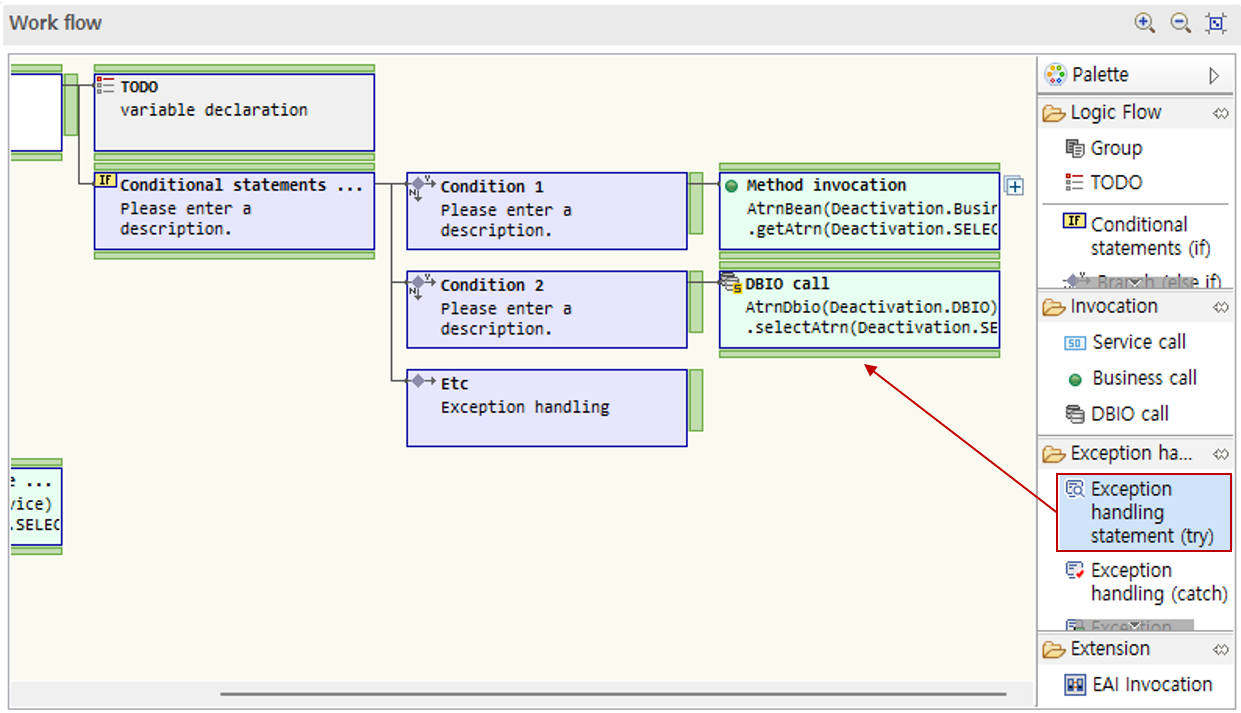
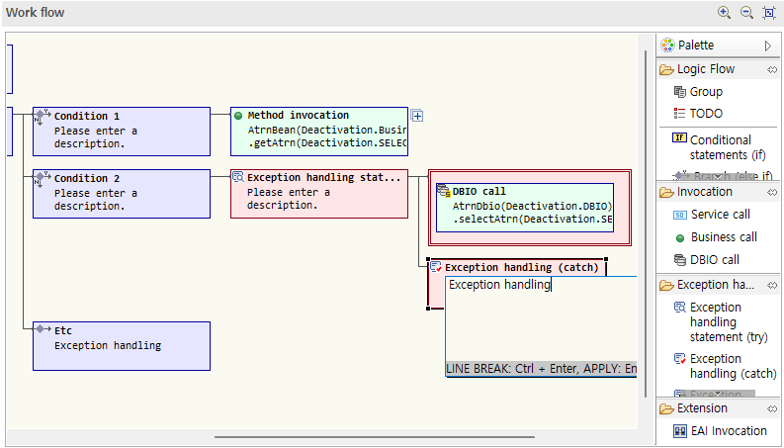
6.2.5. Exception Handling
For logic where exceptions may occur, you can control exceptions through exception handling statements.
-
Drag an exception handling statement from the palette.
-
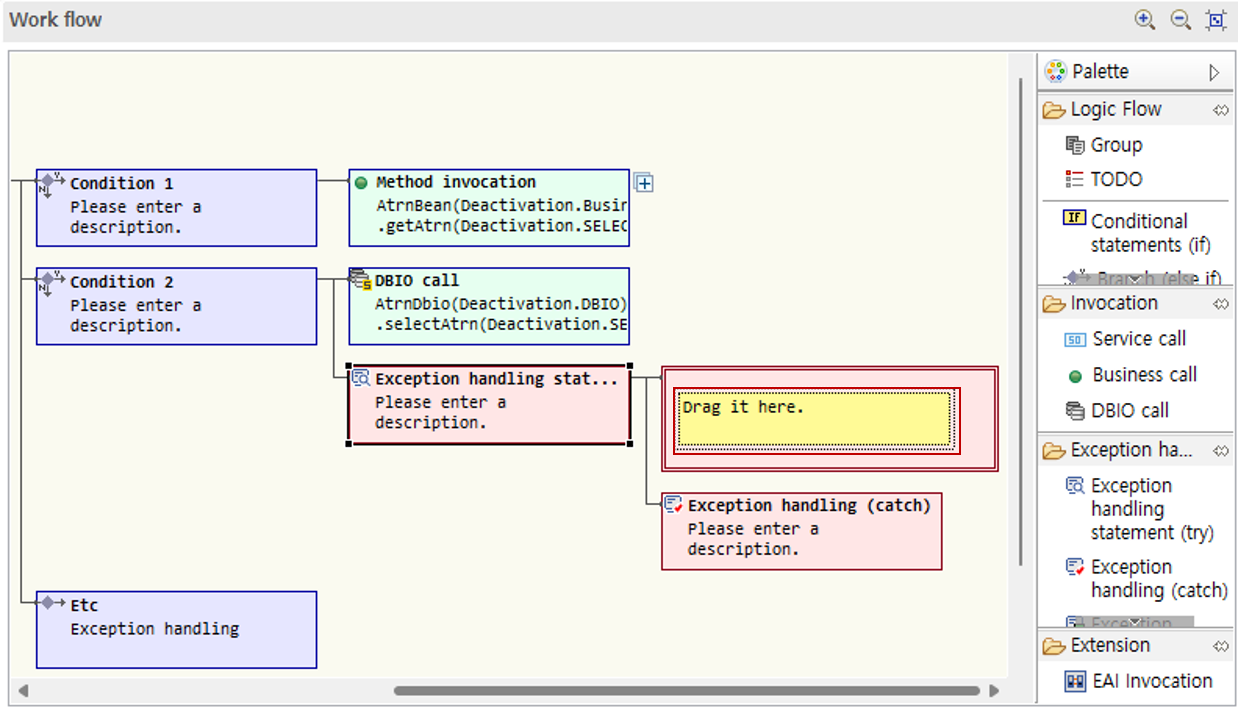
Write the logic to be exception-handled in the box after the exception handling statement. In this guide, the previously called DBIO call node is dragged and moved.
-
Click the node and write the description.
-
When you want to raise an exception for business reasons, use application exception raising. At this time, you can enter code and description.
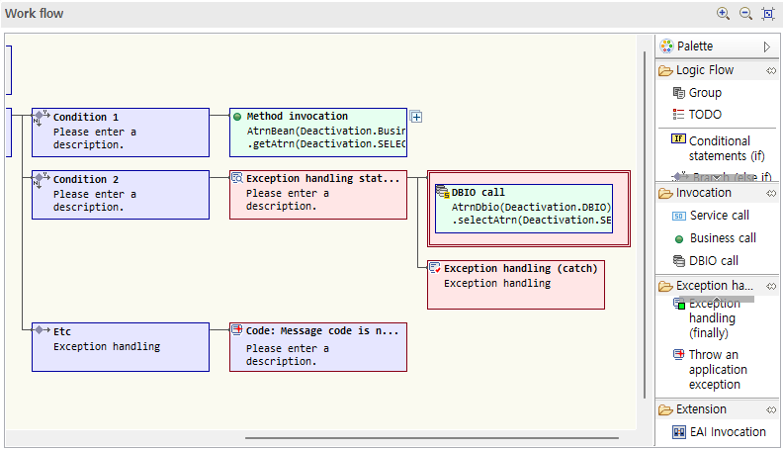
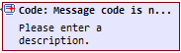
For application exception raising nodes, you can directly enter a common message code in the node title.
-
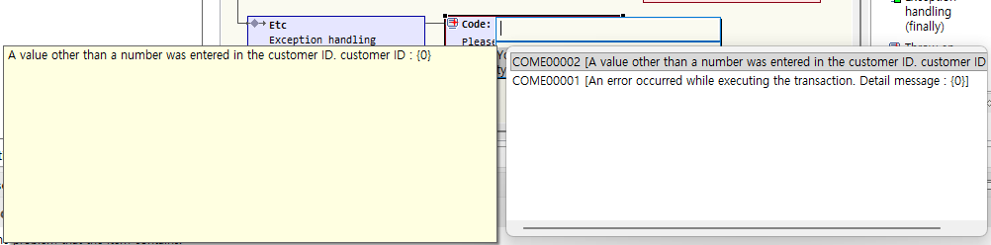
Edit Code: When you move the cursor over the title area, it turns gray; click it to activate edit mode.

In edit mode, directly enter the common message code to use. When you press Ctrl+Space, available common message codes are displayed. You can select a displayed common message code. If you do not use a common message code, you may leave it blank.
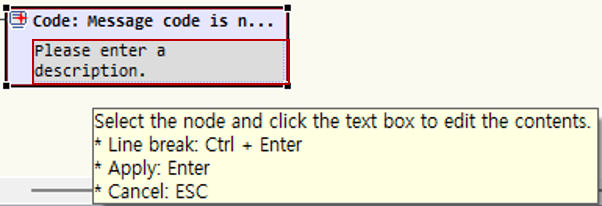
-
Edit Description: When you move the cursor over the description area, it turns gray; click it to activate edit mode.
-